Cisco
CiscoThis article describes the installation and configuration steps for Cisco 8540 controller.
This platform supports the Monitoring Dashboard and the Upgrade audit workflow view with release 8.1 and newer.
Access to WLANs section and then from list of available default WLANs choose to Edit available or create New.
We choose to edit current.
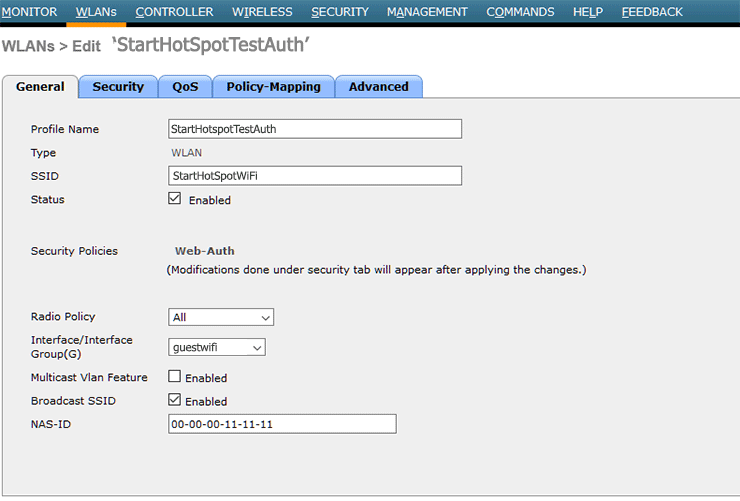
From General tab it is required to set profile name, SSID and to activate it.
In our example is used StartHotSpotTestAuth and StartHotSpotWiFi.
As Radio Policy select All.
Set Interface/Interface Group (G).
Enable Broadcast SSID.
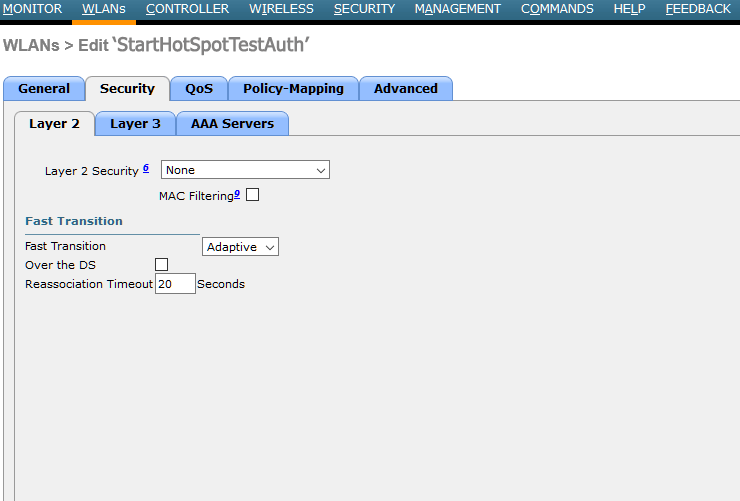
From Security / Layer 2 tab as Layer 2 Security specified None.
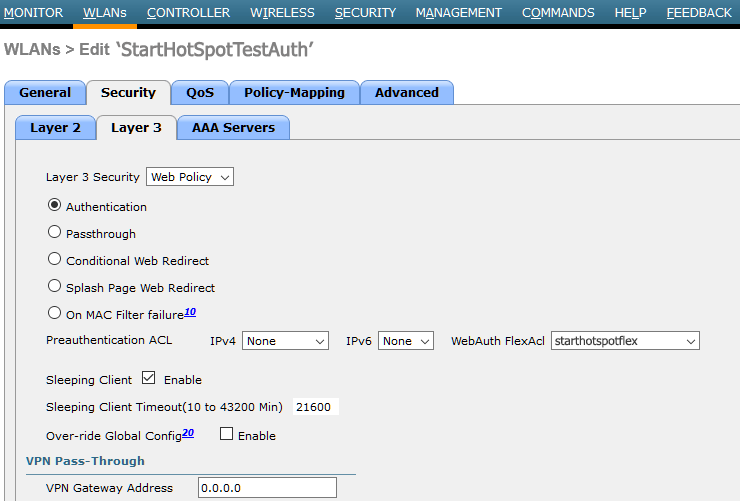
From Security / Layer 3 tab as Layer 3 Security set Web Policy and activate Authentication.
In WebAuth FlexAcl field set starthotpotflex.
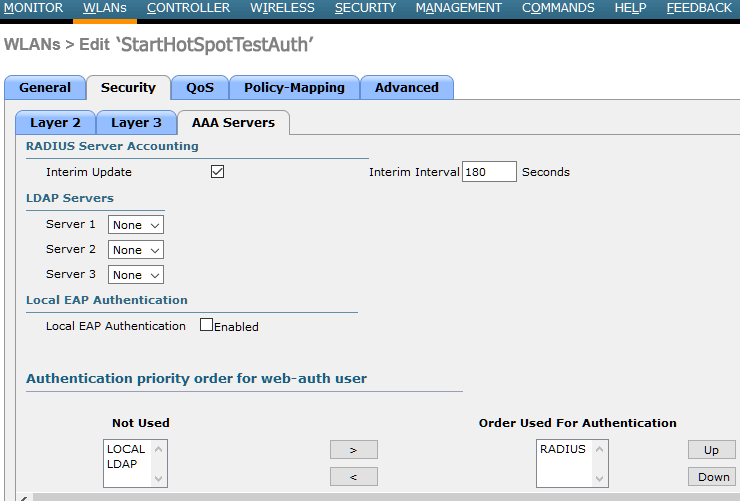
From AAA Servers tab as Radius Server Overwrite interface select Enabled and set WLAN from Interface Priority.
Authentication Servers should be Enabled and set IP:13.92.228.228, Port:1812
Accounting Servers should be Enabled and set IP:13.92.228.228, Port:1813

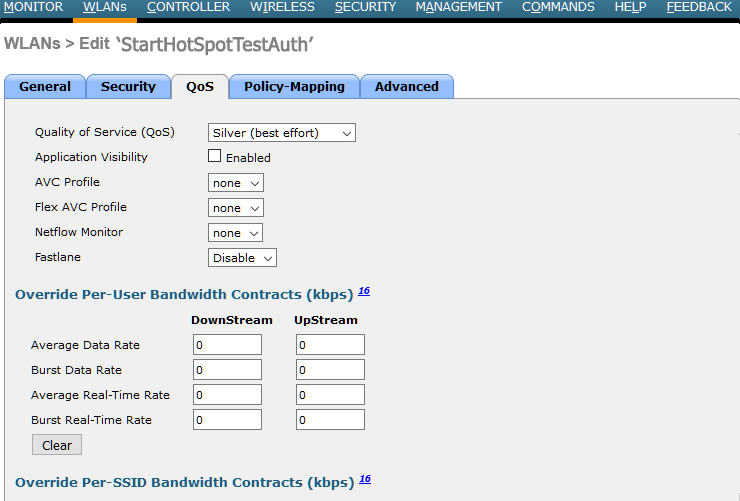
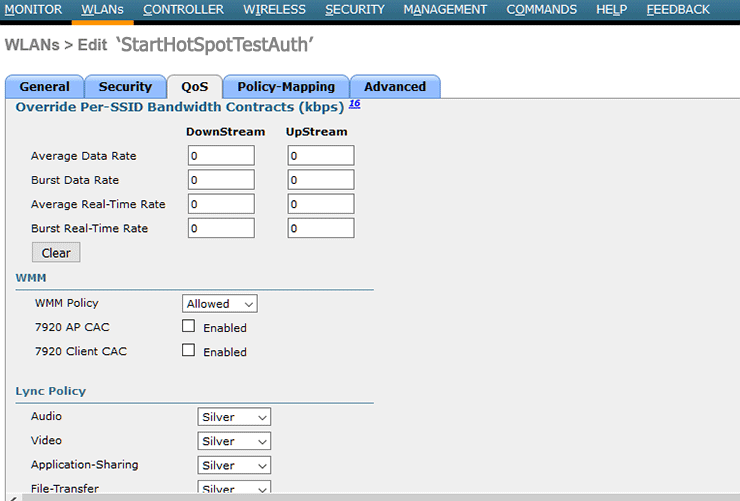
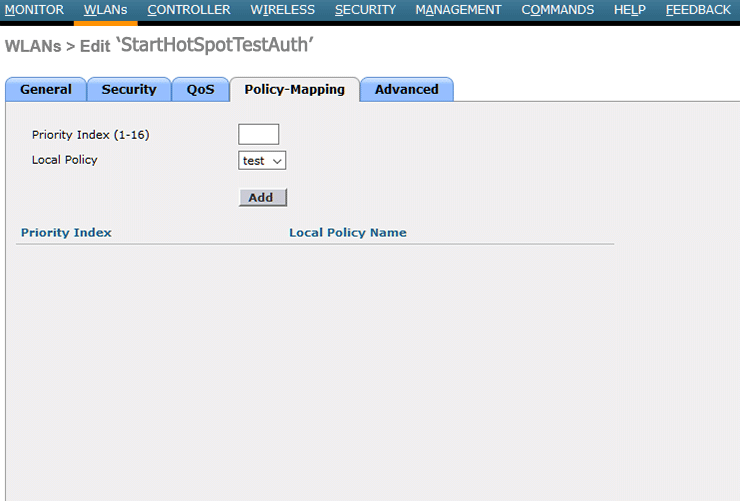
From QoS and Policy-Mapping tab leave default values
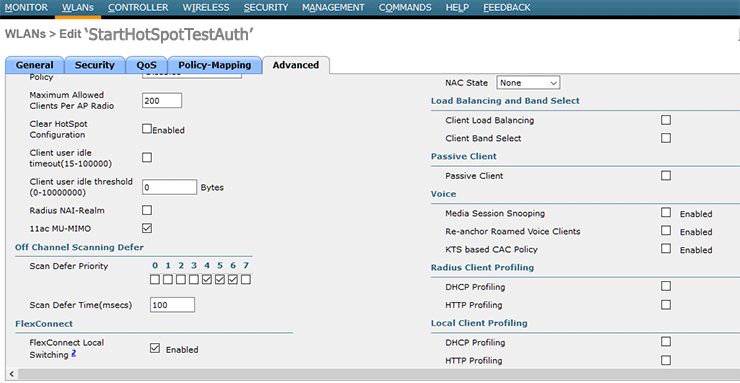
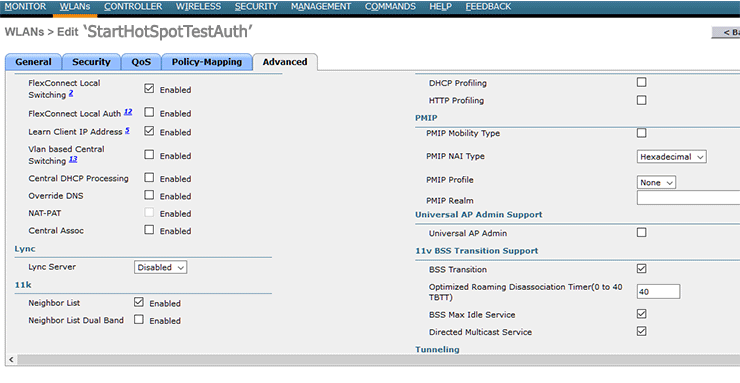
From Advanced tab be sure that Allow AAA Override and and Coverage Hole Detection are Enabled.

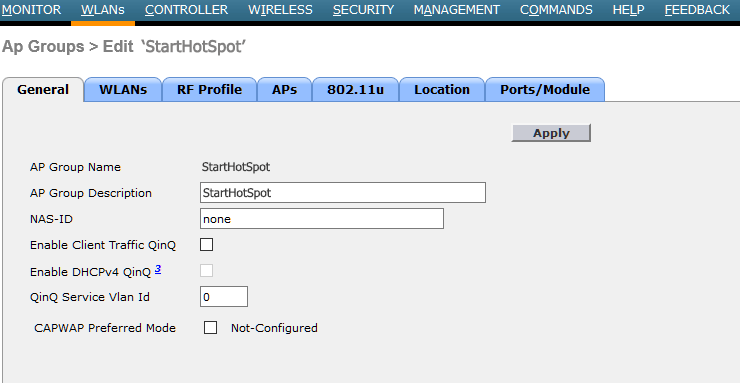
 Go to WLANs section and in Ap Groups choose to edit StartHotSpot Group.
From General tab specify AP Group Description StartHotSpot.
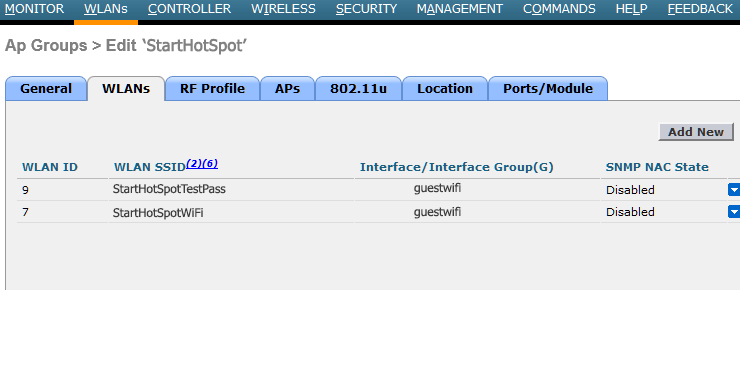
From WLANs tab can be seen WLAN ID, SSID, Interface and SNMPC NAC State.
 From RF Profile tab set none for 802.11a and 802.11b
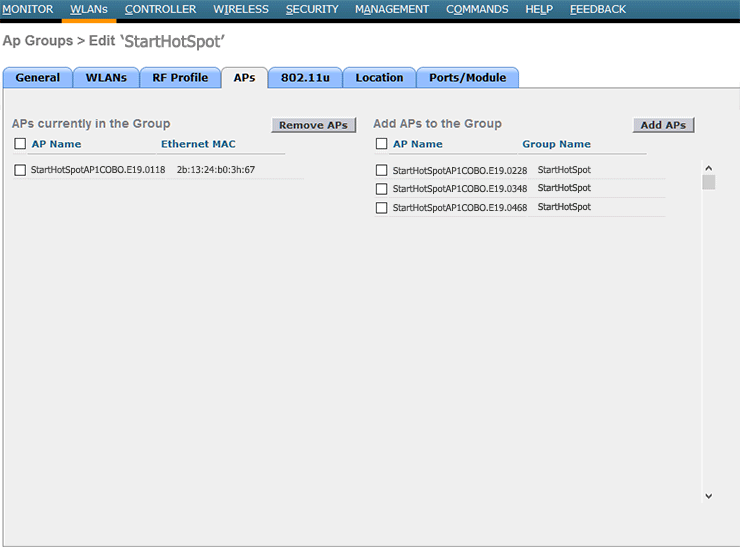
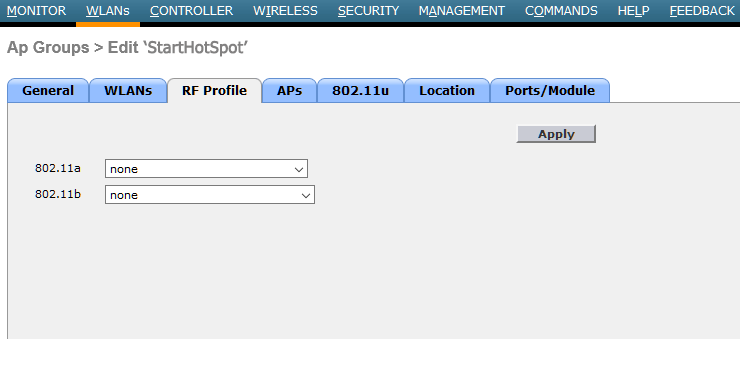 From APs tab are visible APs currently visible in the Group and others which you can add using Add APs to the Group.
 From Wireless menu go to FlexConnect Groups section and choose to Edit.
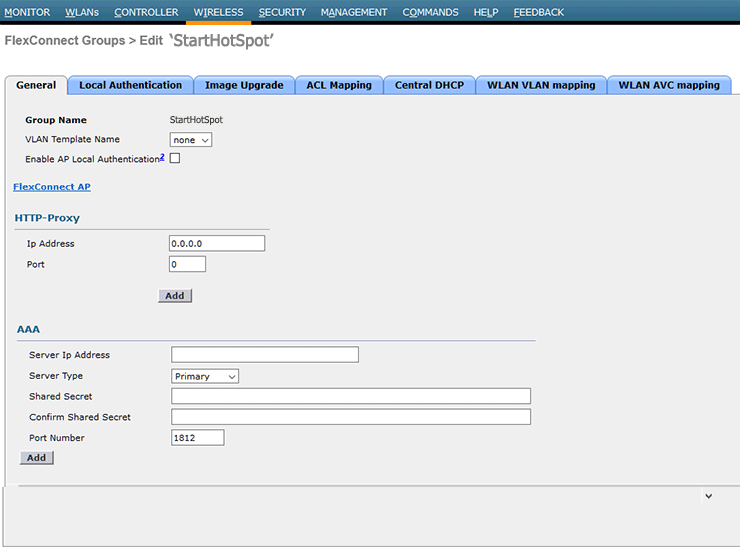
From General tab is visible Group Name.
Set none as VLAN Template Name.
As HTTP-Proxy set IP address 0.0.0.0 and Port 0.
Server type is Primary and port number 1812.
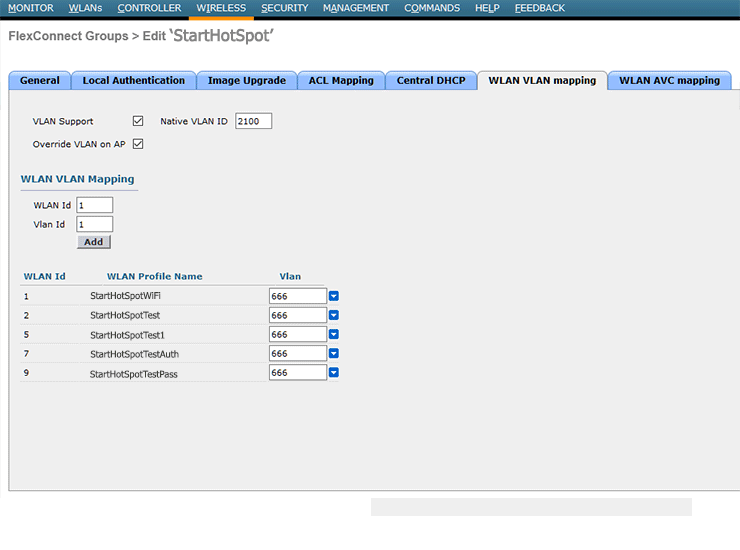
 From WLAN VLAN mapping tab select to use VLAN Support, Override LAN on AP and set Native VLAN ID 2100.
As WLAN VLAN Mapping set Id 1.
 From Access Control Lists section is available list with names for your flex.

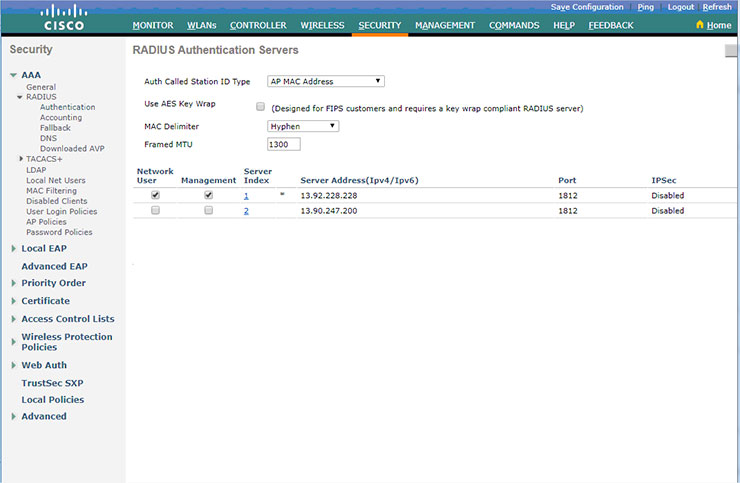
From the Security menu go to RADIUS Authentication Servers section.
In Auth Called Station ID Type select AP MAC:SSID: AP Group.
Use AES Key Wrap should be disabled and as MAC delimiter set Hyphen.
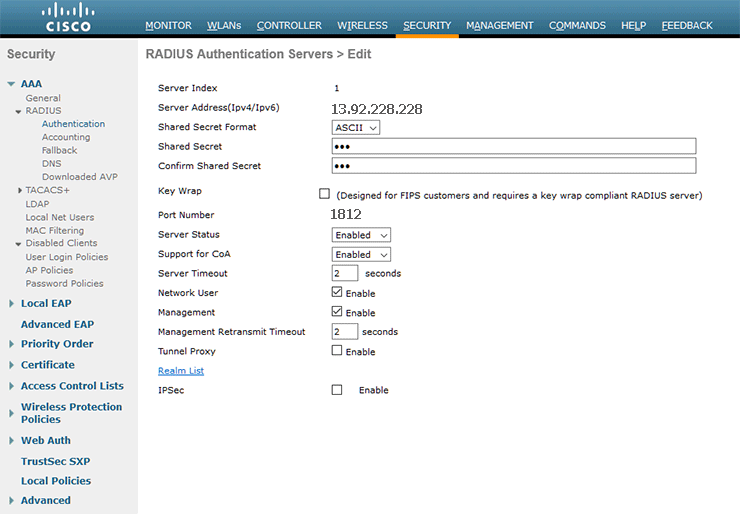
Select it in the list and choose to Edit. On the list you will see Server Index and Server address.
Be sure that as Shared Secret format is used ASCII then set and confirm Shared Secret.
As Port Number specify 1812.
Enable Server Status and Support for CoA.
As Server Timeout specify 2 seconds.
Enable Network User and Management.
From Managemener Retransmit Timeout specify 2 seconds.
 From Accounting section in Auth Called Station ID Type set AP MAC:SSID: AP Group.
For Use AES Key Wrap should be disabled.
As MAC delimiter set Hyphen and set for Framed MTU 1300.

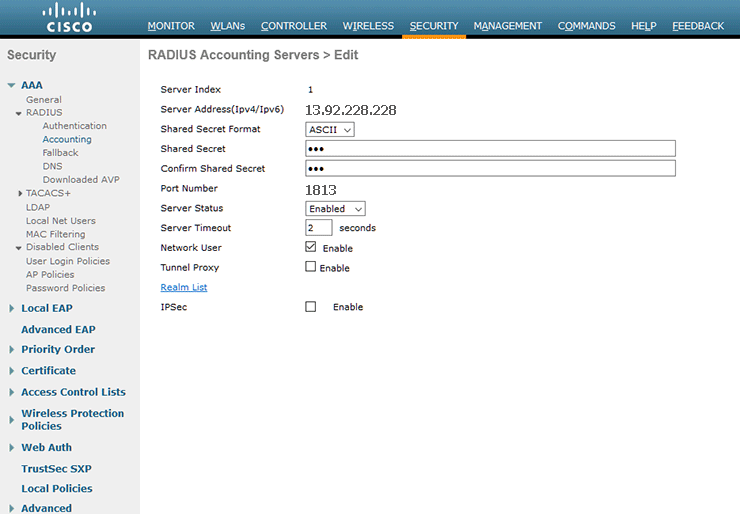
Select it in the list and choose to Edit.
On the list you will see Server Index and Server address.
Be sure that as Shared Secret format is used ASCII then set and confirm Shared Secret.
As Port Number specify 1813.
Enable Server Status.
As Server Timeout set 2 seconds.
Enable Network User.
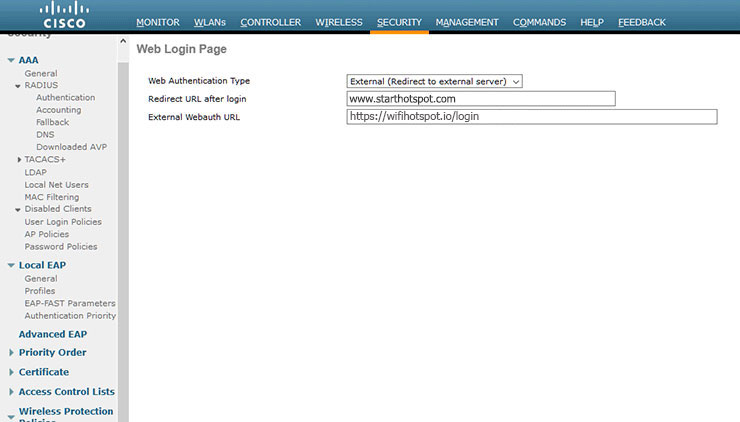
 From Web Login Page section set in Web Authentication Type to use External.
As Redirect URL after Login set www.starthotspot.com
As External Webauth URL set https://wifihotspot.io/login
Add the following domains at the Access control list :
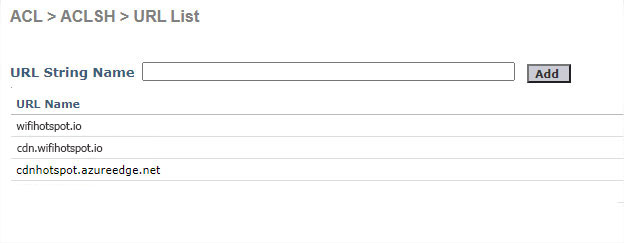
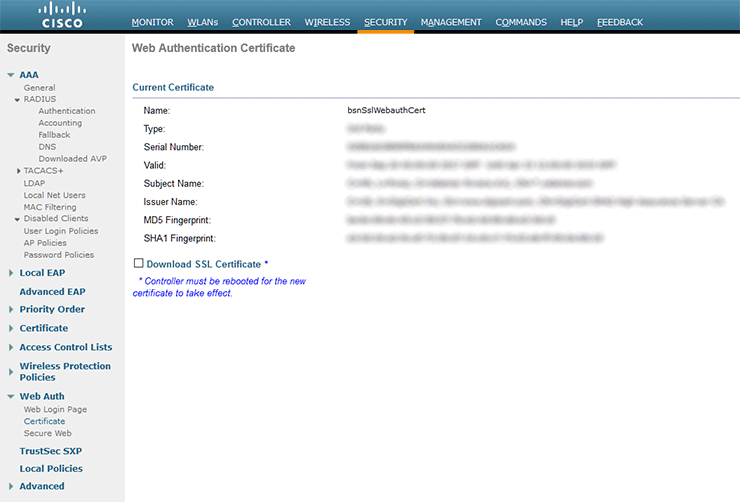
From Web Authentication Certificate panel are visible currently applied SSL Certificates.
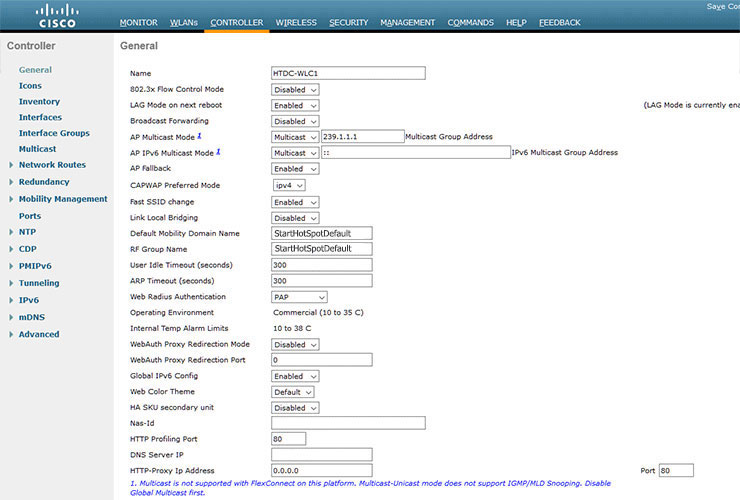
 From the Controller menu in the General section is visible current configuration.
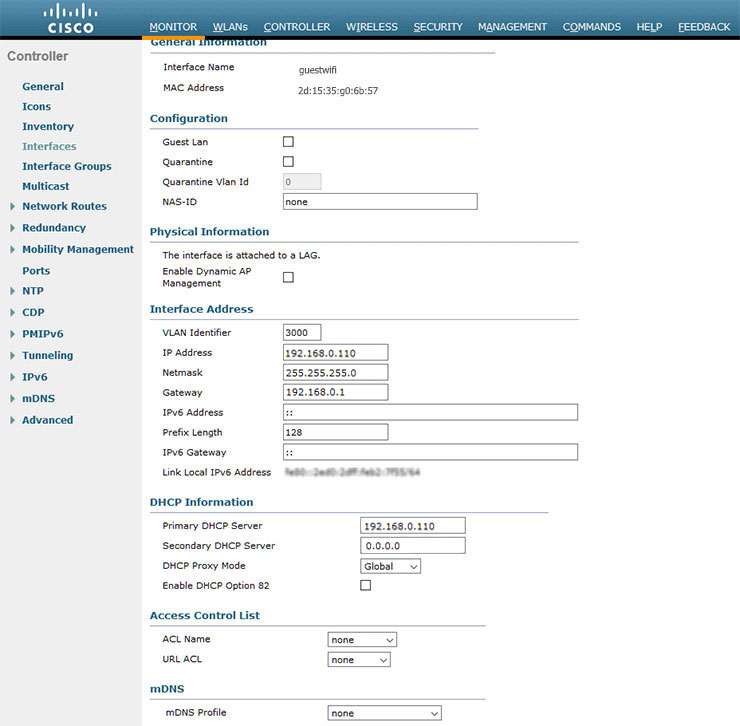
From the Interfaces menu is visible currently configured Interface.
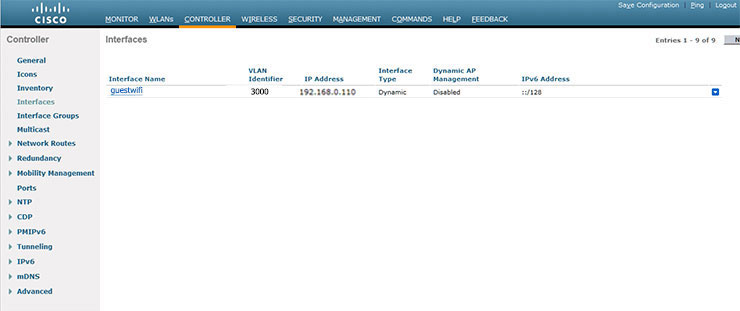
Select it in the list and choose to Edit.
Here will be visible Interface name, MAC address, Interface Address and DHCP Information.