 Meraki
Please select a model and download HotspotOS.
DownloadHotspotOSConfigurationTroubleshoot
Please reset the AP / WiFi router to factory settings to avoid problems with some previous configuration.
Connect your computer by network cable to router LAN port.
Set static IP address 192.168.1.101, subnet mask 255.255.255.0 and as the gateway IP 192.168.1.1
During the next steps, we recommend disabling your WiFi network card/adapter to help prevent IP issues.
Connect your Meraki PoE port to your laptop/computer via Ethernet from the PoE port.
Power on your Meraki while holding the reset button down, and keep it held down.
During this time, you should see the firmware pulled to the Access Point in the console.
After 30-45 seconds, all of the lights on the front should start blinking.
The HotspotOS installation procedure can take a few minutes.
During this process, you will see information about the processing.
Reconnect LAN cable or Disable/Enable NIC card in order to get new valid IP address in 10.200.0.x range from router.
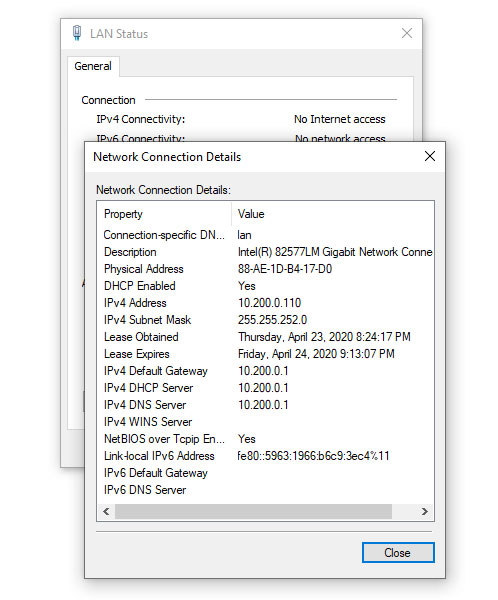
Start your browser and in URL field type http://10.200.0.1:8089/ to login to HotspotOS.
Username: admin
Password: admin
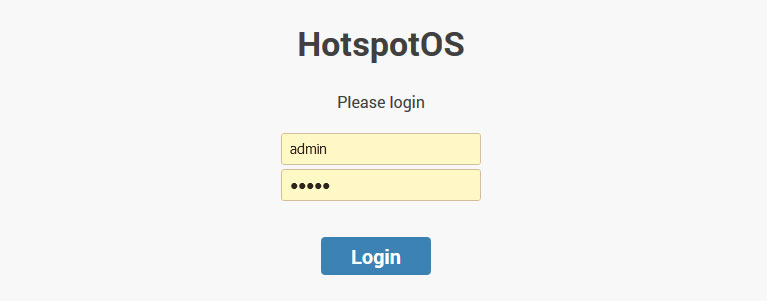
Press the Login button to access to Status tab.
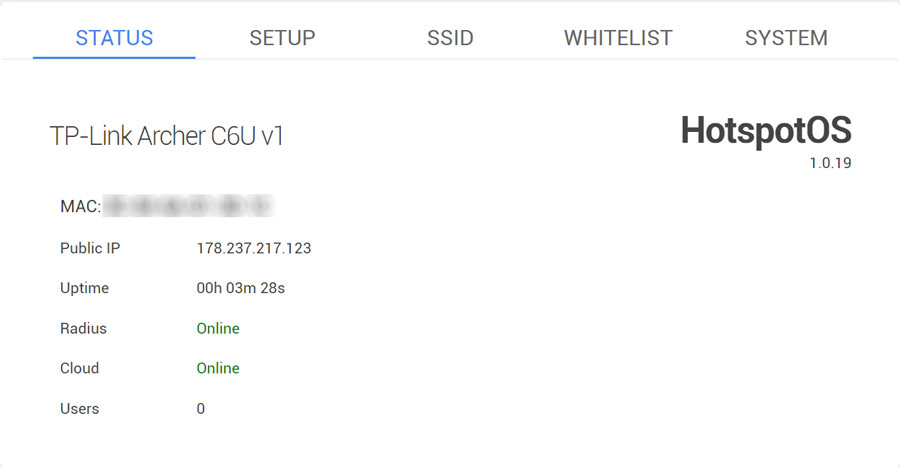
On the HotSpotOS Status page, you can check AP MAC address, Public IP, device Uptime, Radius and Cloud status, and a number of users connected to AP.
The MAC address of your AP will be used in the SignUp process.
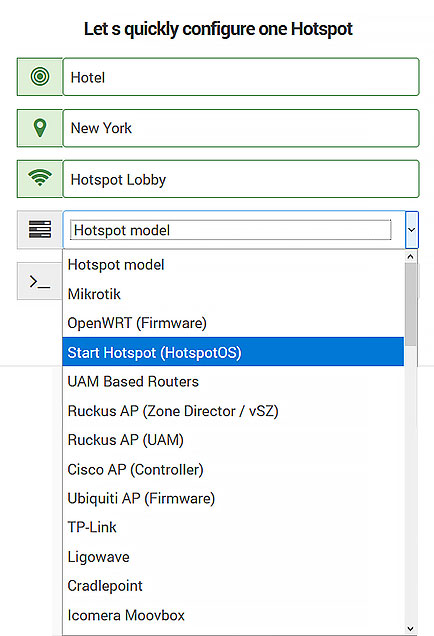
During SignUp, after typing HotSpot name, select as HotSpot model HotspotOS, and add your MAC address from the Status tab.
From the Setup page configure your AP.
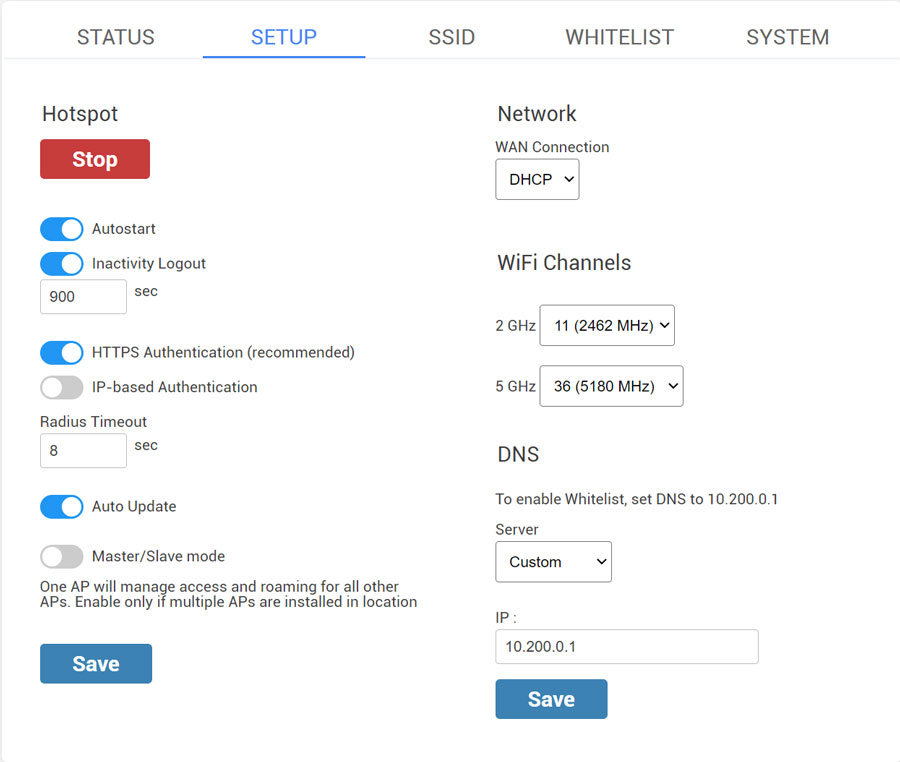
The Hotspot is started and the Autostart and Inactivity Logout options are active by default.
Inactivity Logout is set to 900 sec. Inactivity period defines how long will the device stay logged-in without activity. This prevents repeated logins if the connection temporarily breaks.
IP-based Authentication is used to switch AP domain ap.wifihotspot.io to 10.200.0.1
It is recommended to disable this option to avoid issues with https-based websites.
Radius Timeout – 8sec
Auto Update – enabled
Master/Slave mode
One AP will manage access and roaming for all other APs.
Enable only if multiple APs are installed in a location.
By default as Network WAN Connection is set DHCP, but you can choose network protocol based on your needs. Our recommendation is to use DHCP Network Protocol.
WiFi channels – Eleven channels are designated in the 2 GHz range, spaced 5 MHz apart from each other. Those eleven channels in the spectrum are allowed anywhere in the world.
DNS – Custom
IP – 10.200.0.1
Save changes.
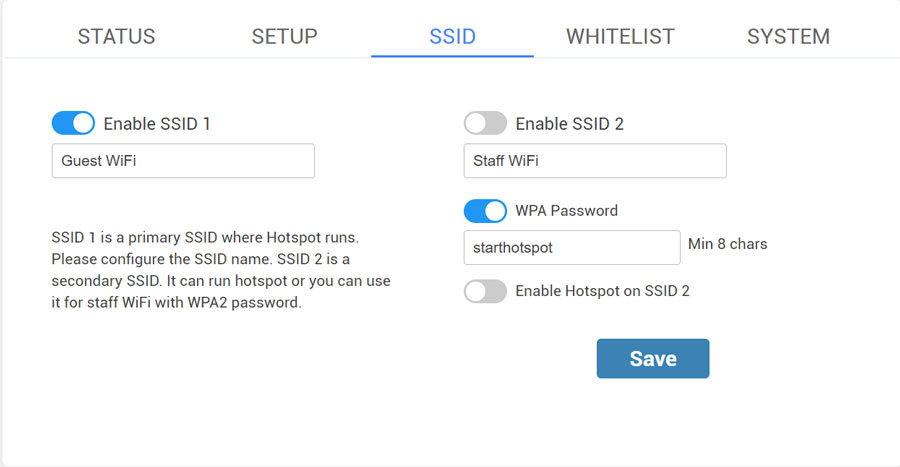
From the SSID tab, you can Enable SSID 1 and 2.
Configure the SSID name and enable it.
Secondary SSID 2 is mostly used for staff WiFi with WPA2 password but you can also enable Hotspot on it.
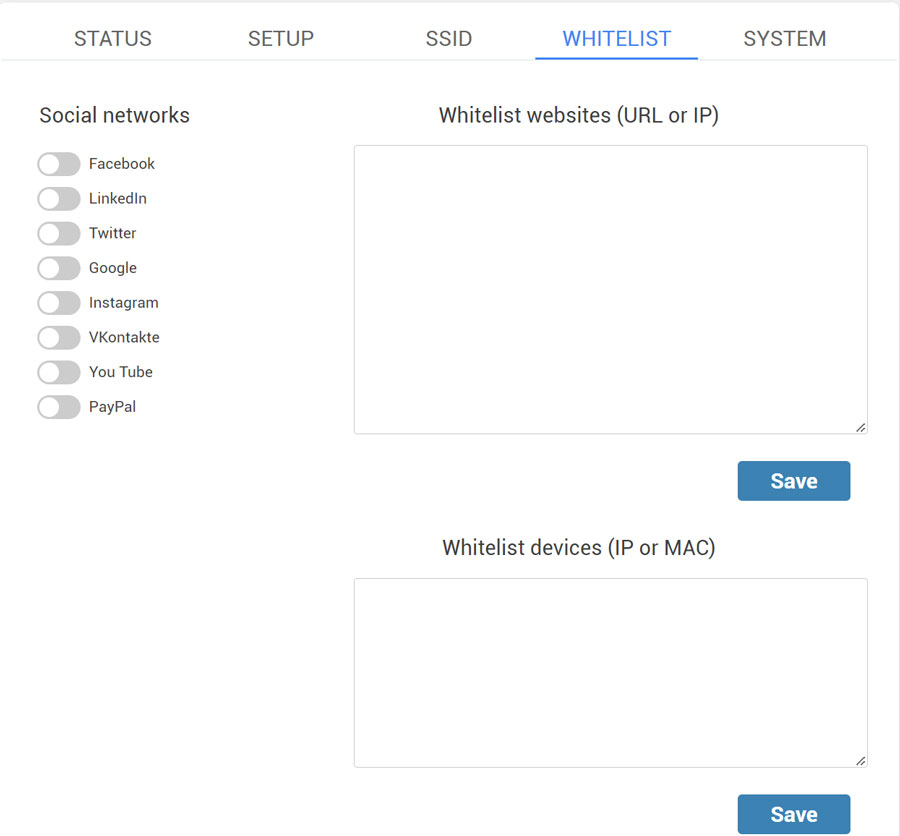
If you want to use Social network login feature or Paypal as payment gateway, enable it on the Whitelist tab and Save changes.
You can also whitelist websites based on URL, IP, or MAC.
From the System tab, you can flash HotspotOS image and change the Admin password.
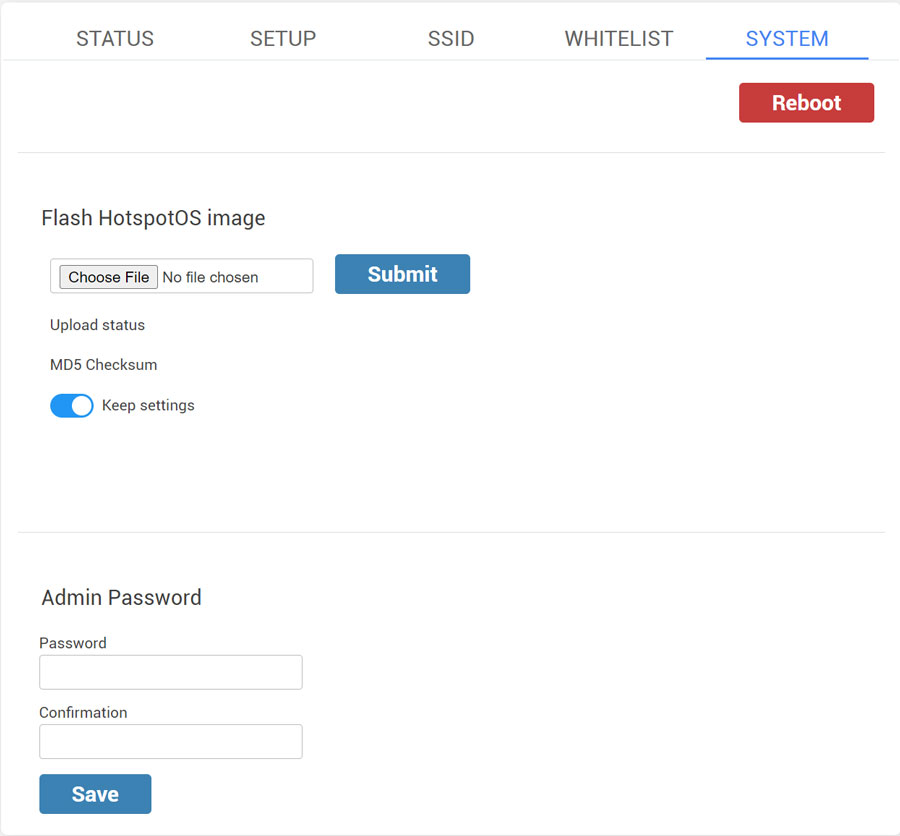
When you finish setup, restart the AP / WiFi router to apply changes.
Meraki HotspotOS Download
Meraki MR12
Download HotspotOS
Meraki MR16
Download HotspotOS
Meraki MR33
Download HotspotOS